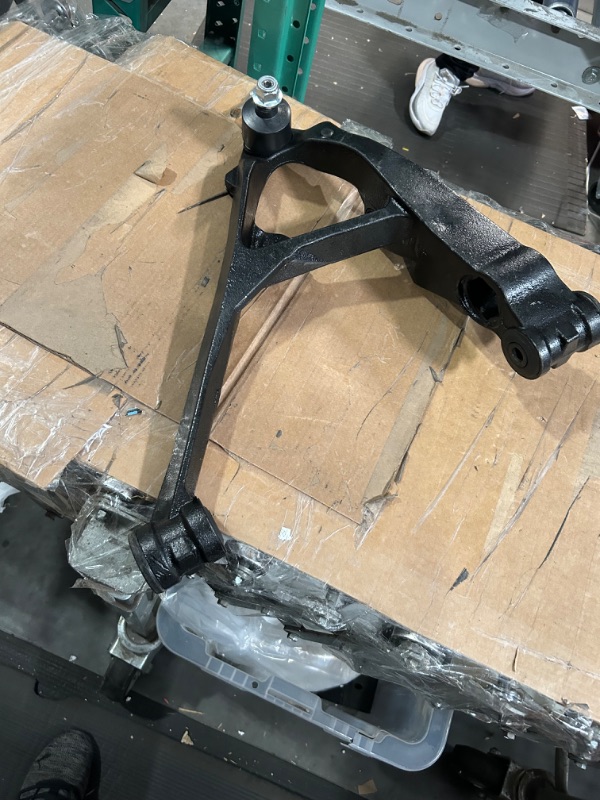
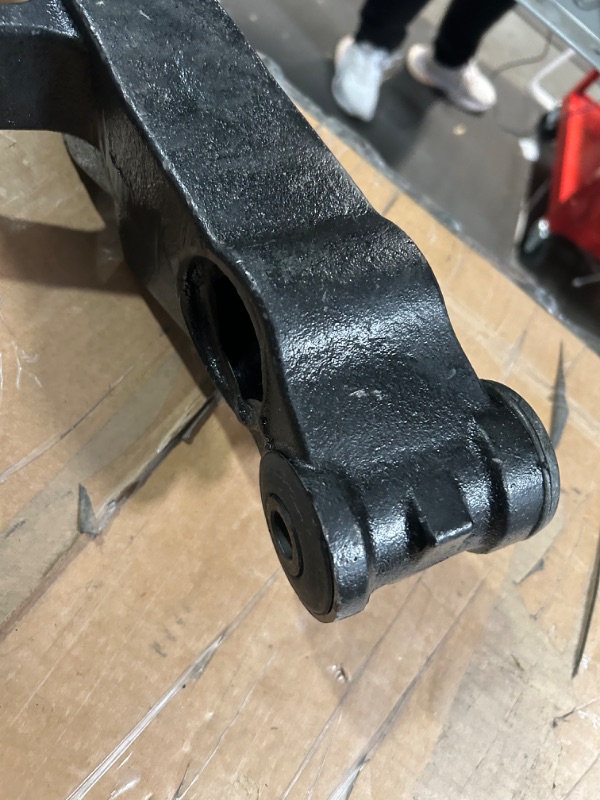
View 3 of Control Arm and Ball Joint Assembly *STOCK PHOTO REF. ONLY

Double tap image to zoom
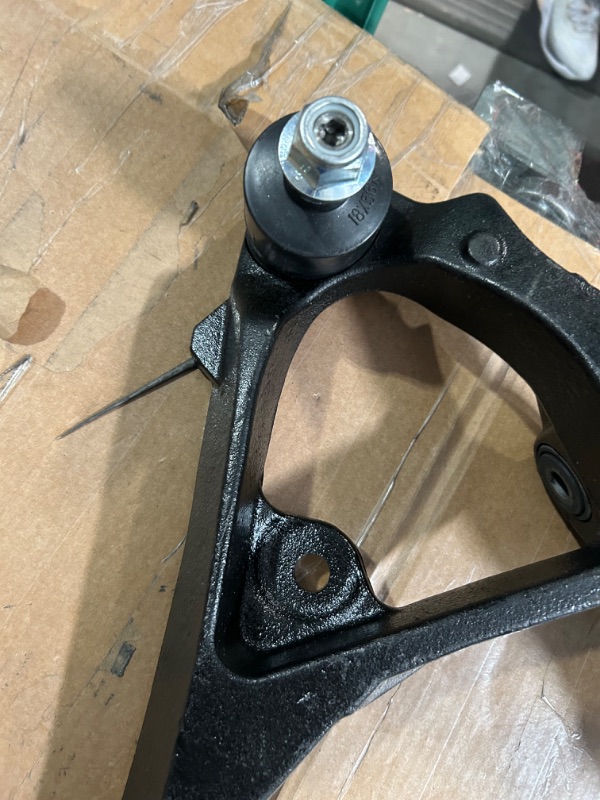
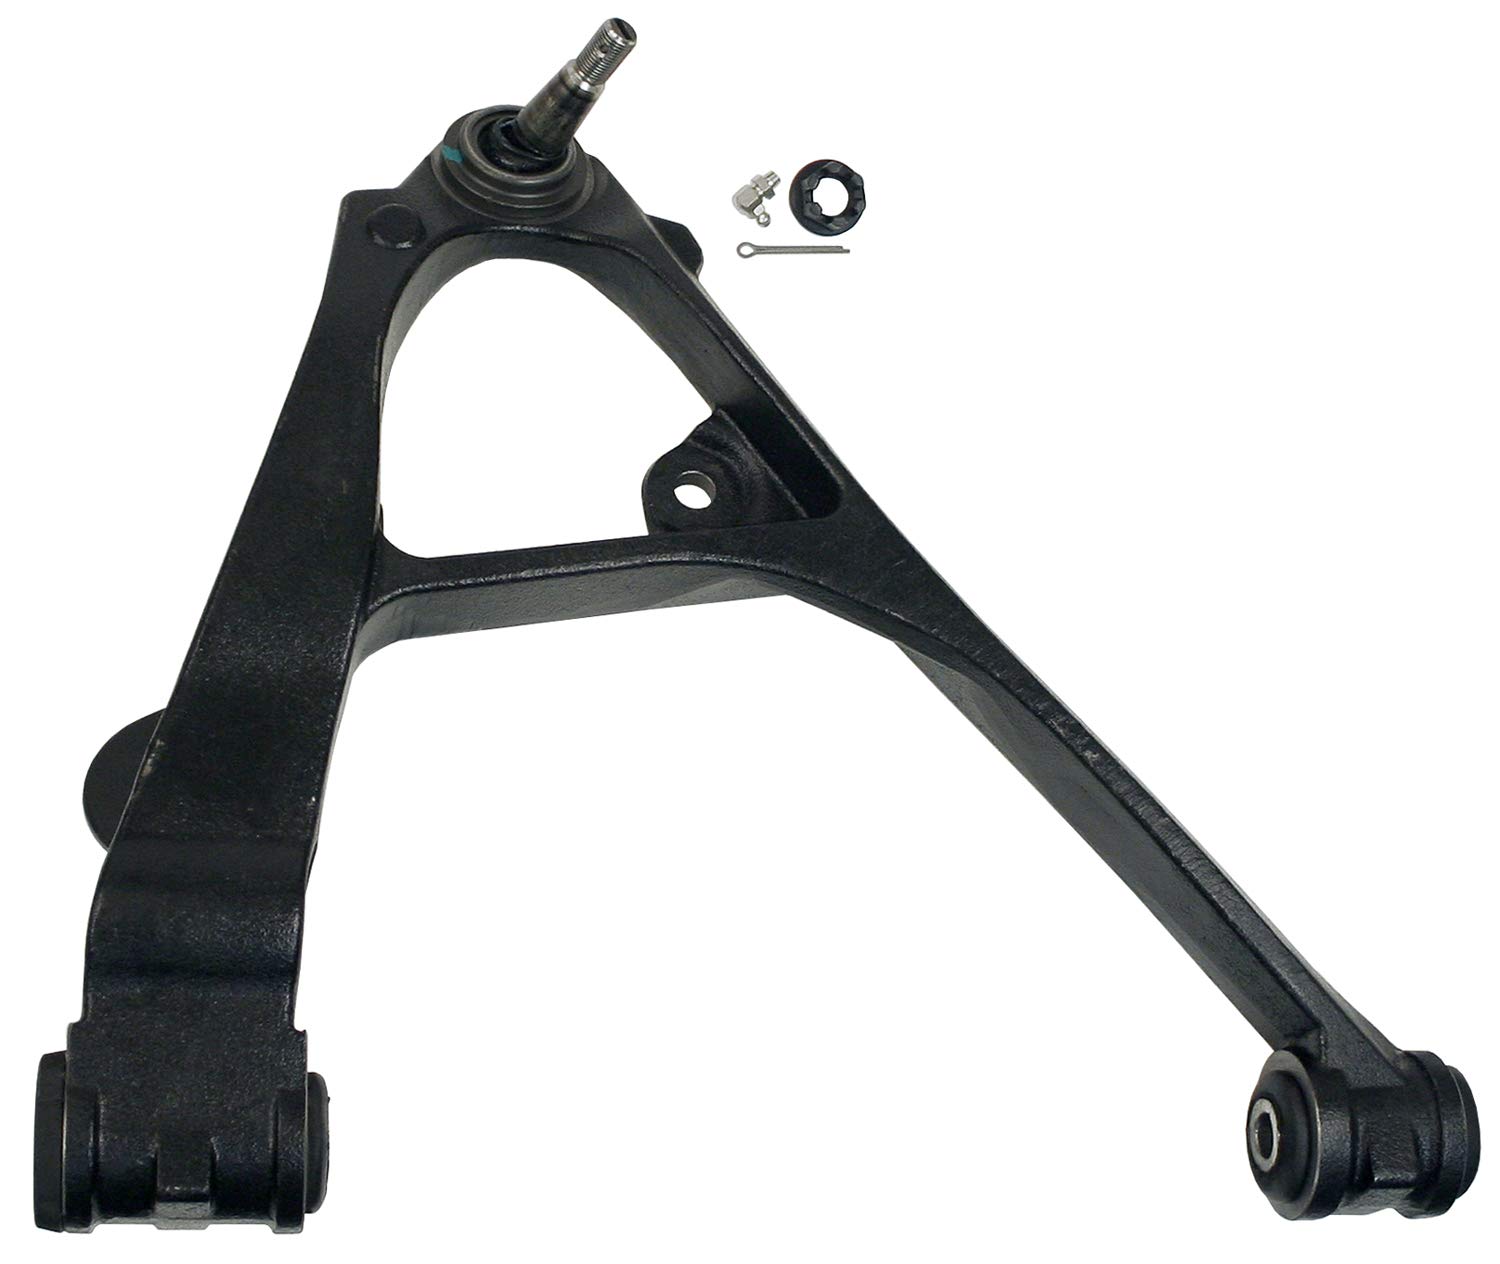
View 1 of Control Arm and Ball Joint Assembly *STOCK PHOTO REF. ONLYView 2 of Control Arm and Ball Joint Assembly *STOCK PHOTO REF. ONLYView 3 of Control Arm and Ball Joint Assembly *STOCK PHOTO REF. ONLYView 4 of Control Arm and Ball Joint Assembly *STOCK PHOTO REF. ONLY