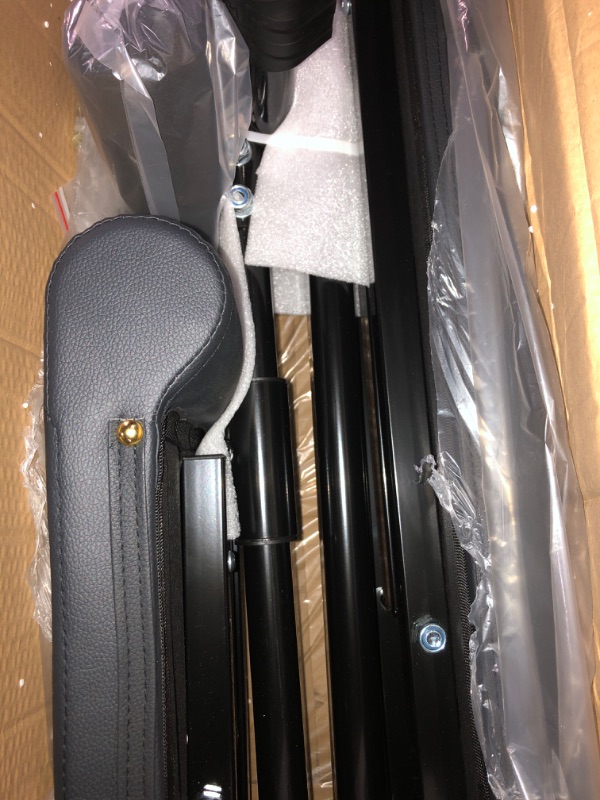
View 2 of (READ NOTES) FLYBIRD Weight Bench

Double tap image to zoom
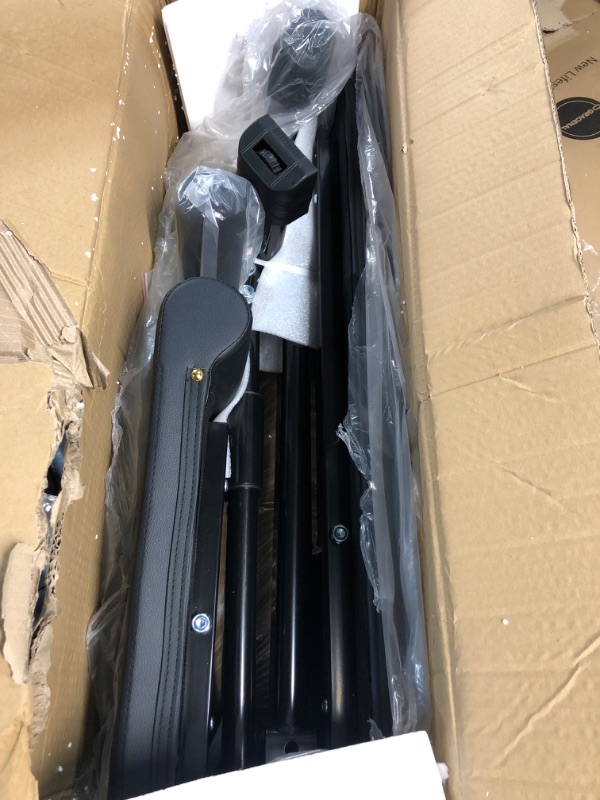
View 1 of (READ NOTES) FLYBIRD Weight Bench View 2 of (READ NOTES) FLYBIRD Weight Bench View 3 of (READ NOTES) FLYBIRD Weight Bench