View 2 of (SEE NOTES) BalanceFrom Tricep Press Down Cable AttachmentBar F. T-Bar Row

Double tap image to zoom
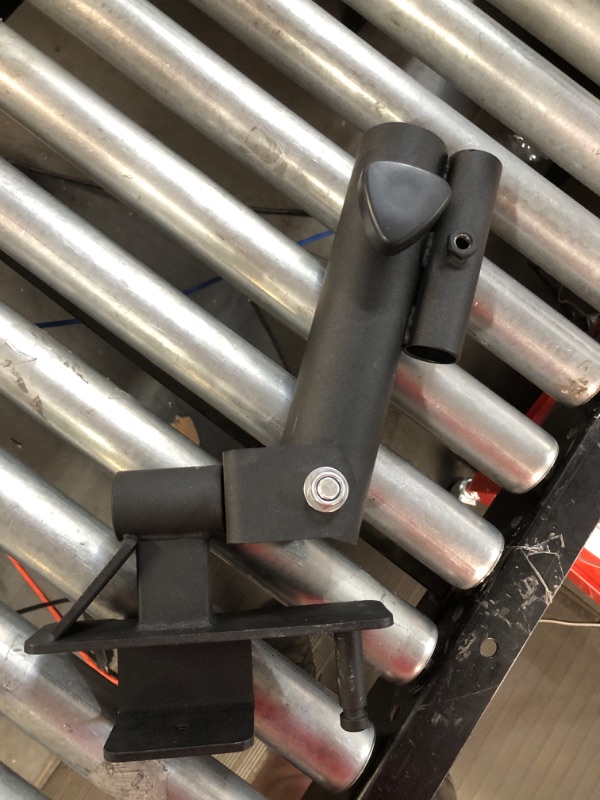
View 1 of (SEE NOTES) BalanceFrom Tricep Press Down Cable AttachmentBar F. T-Bar RowView 2 of (SEE NOTES) BalanceFrom Tricep Press Down Cable AttachmentBar F. T-Bar Row