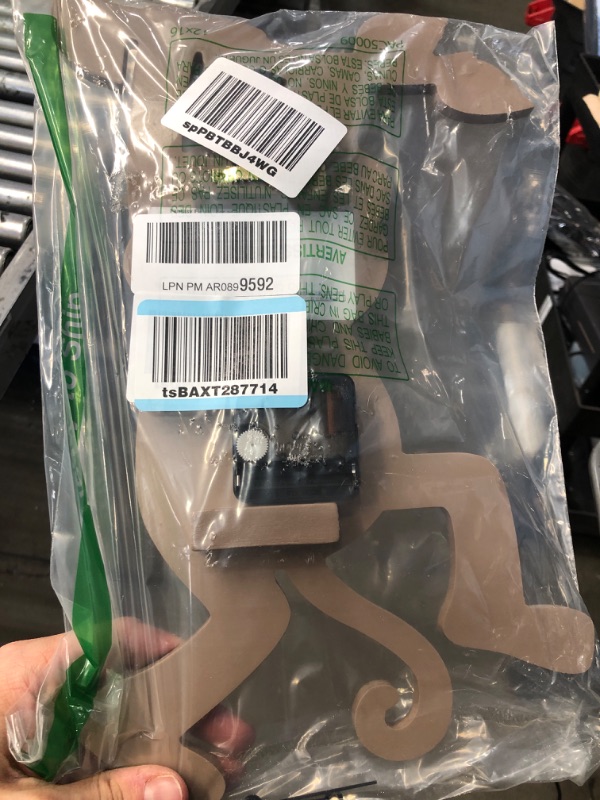
View 1 of **USED**  Monkey Clock

Double tap image to zoom
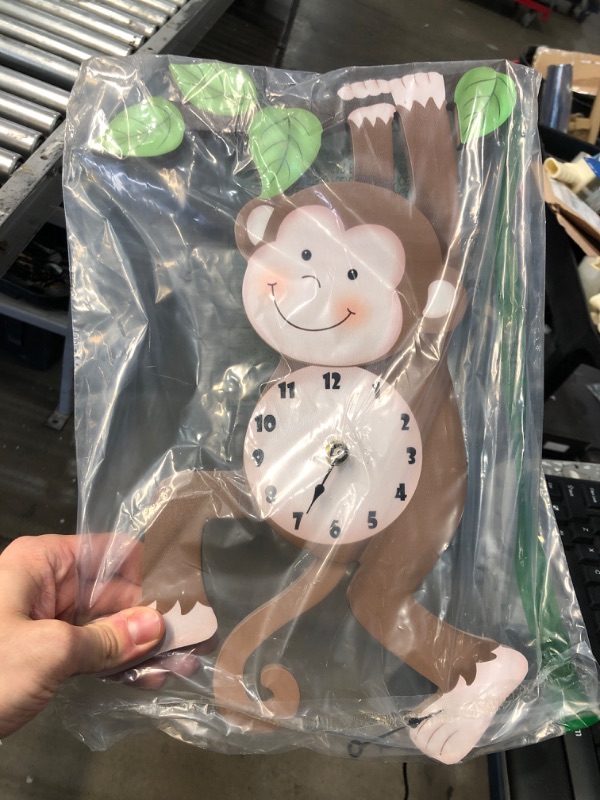
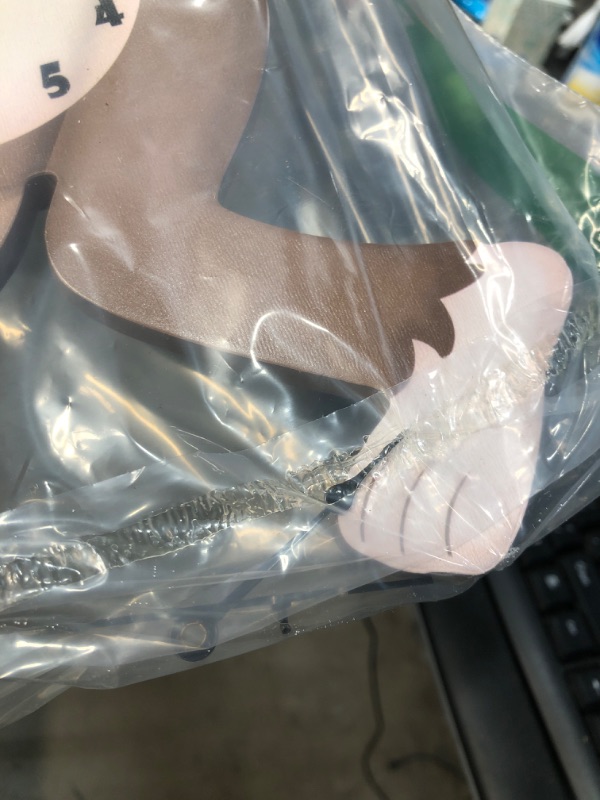
View 1 of **USED**  Monkey Clock View 2 of **USED**  Monkey Clock View 3 of **USED**  Monkey Clock